Navigate through VOIZ’s easy agent hiring process that will not only allow maximum exposure of your project requirements but also guarantees the right agents to support it!
Step 1: Identify yourself as a company and select ‘Hire CX agents” and get started with signing up with VOIZ
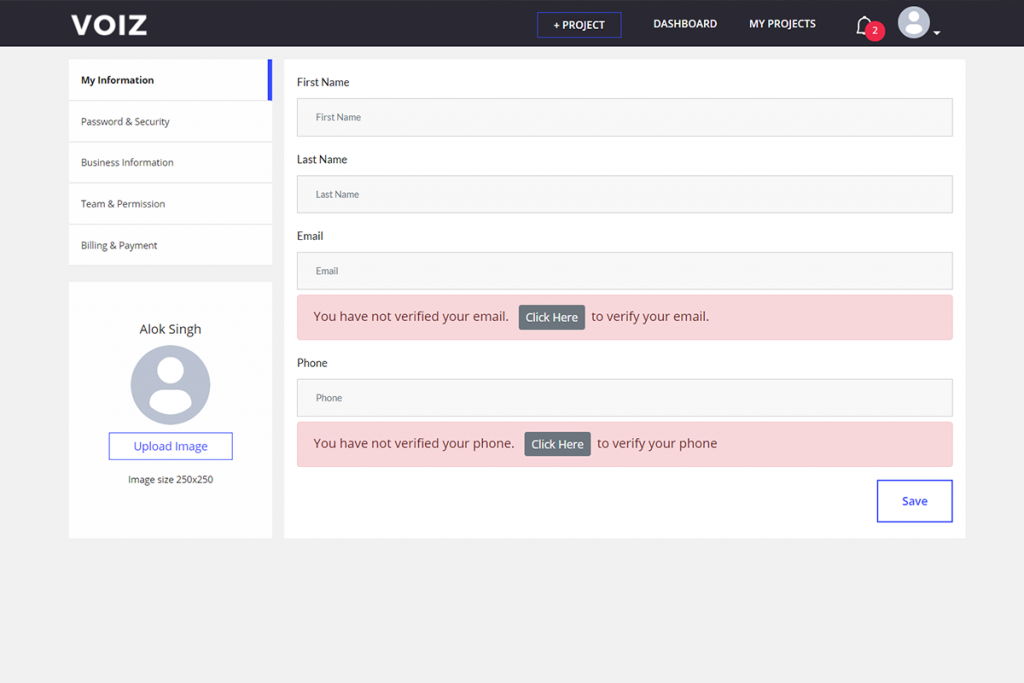
- Get started with setting up your employer/company profile with “My Information” by adding your first name and last name and get your email address and phone number verified. You can upload a profile picture at this stage to complete your employer profile. Make sure to hit ‘save’ after you are done!
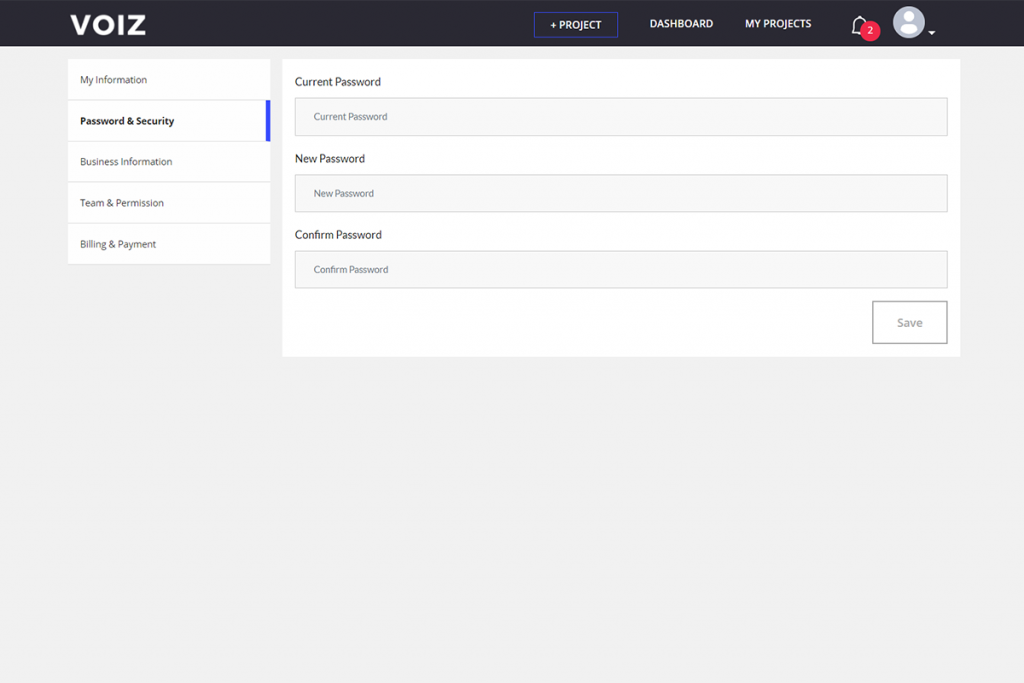
- Next, you can change your password in the ‘Password and Security section. This step is optional.
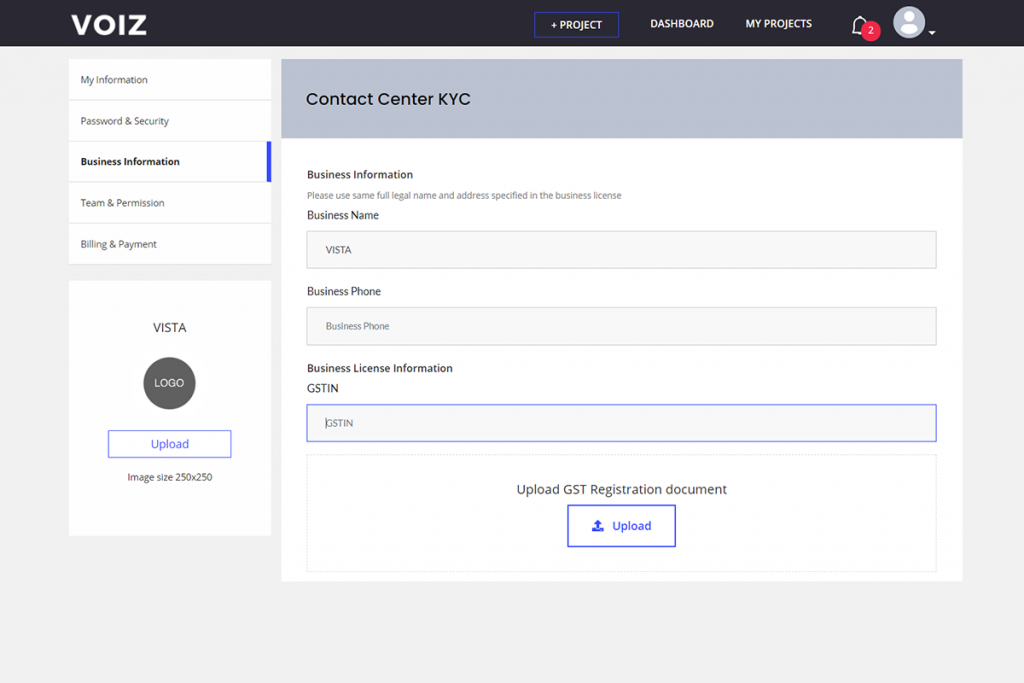
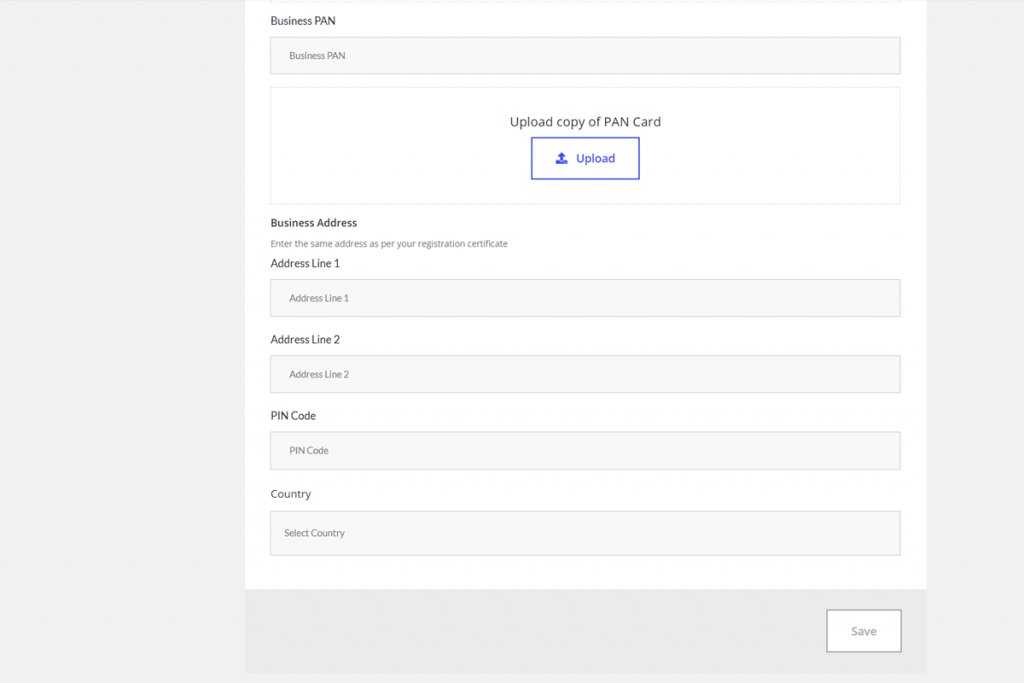
- Next, is ‘Business Information’. Here you will be required to key in your Business name, Business phone number, the GST number of your business, the Business PAN number, and the registered address of the business.
Step 2: Here, we create and post the project while also addressing the details regarding the agent requirements for the project.
- Get going by keying in the Project Name in the ‘About your project’ section which is for your reference to keep it streamlined as you keep adding more projects.
- In the ‘About your project’ space, add in the title which will be showcased to the agents while they are surfing for jobs on VOIZ. Also, add the description which will give an accurate insight to the applicants and attract the right agents for the job. For example: Outbound calling to promote a new loyalty program.

- Next, you will be directed to ‘Process Details’, where you will be required to choose the main process and the subprocesses that your project will be about. Under ‘Project Schedule’
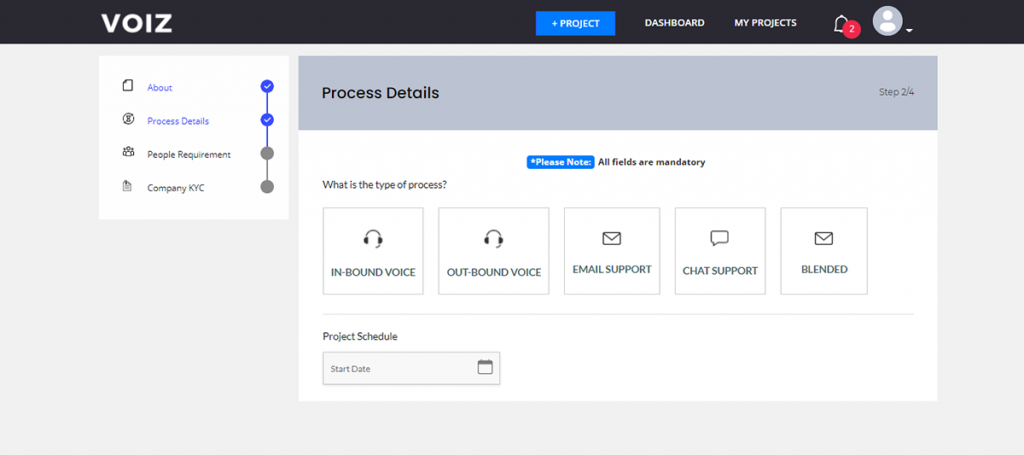

- You will have to select the starting date of the project and the ending date of the project. You will also be required to select the CRM you will need to use for your process. This can also help you to get agents who have already worked on this CRM.
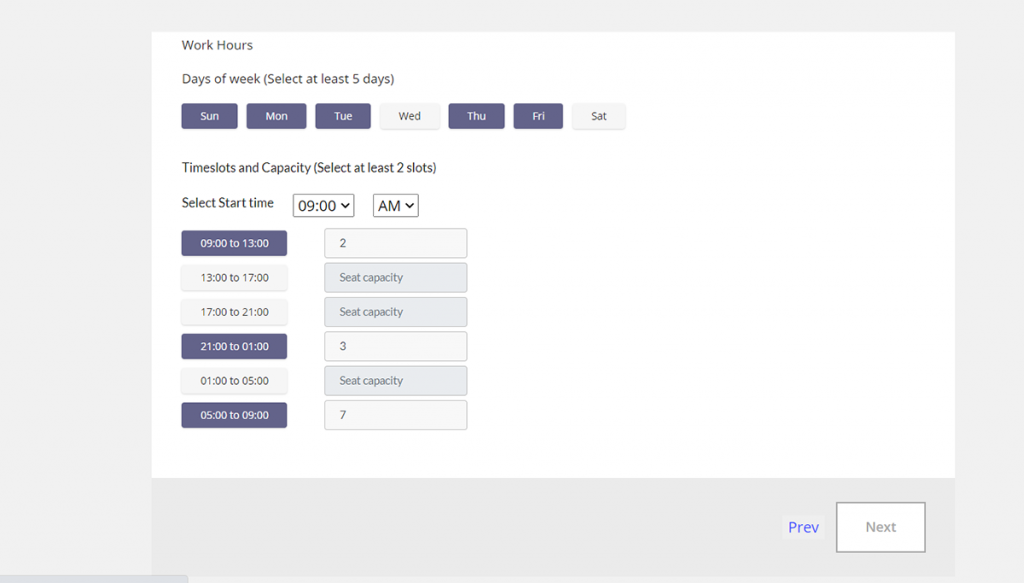
- Furthermore, in the same segment, select the working days required for the project and the time slots along with seat capacity.
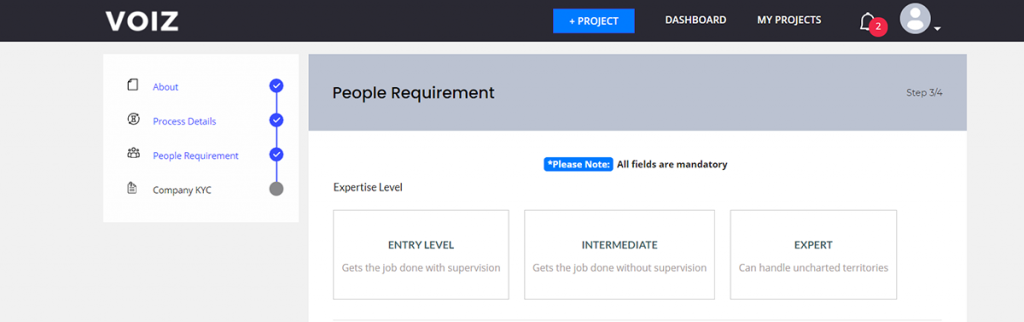
- Key in the ‘expertise level’ you expect from your agents.
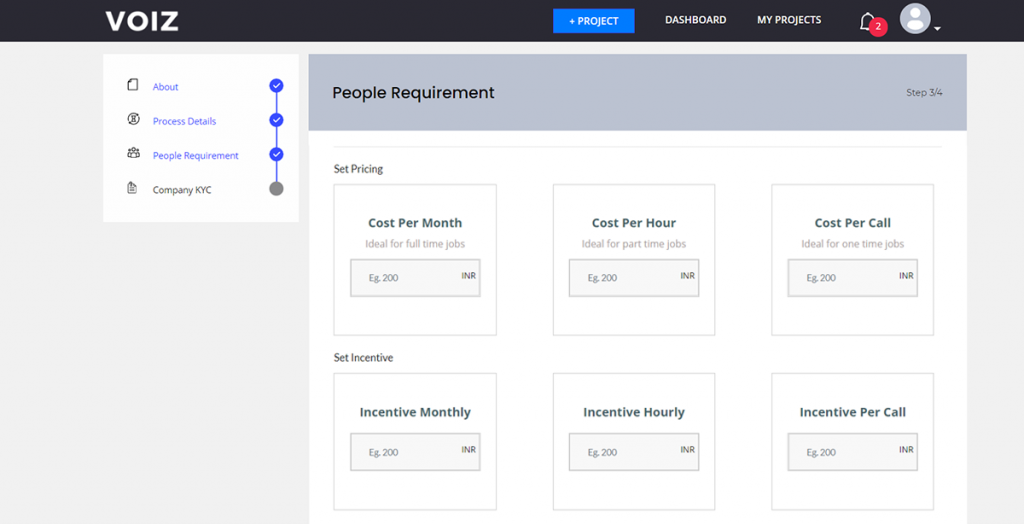
- Next, set the pricing or per agent payout based on each month, each call, and each hour and set the monthly incentive.
- After which, you can add the languages you expect the agents to know and key in the language distribution based on your priority.

- ‘Infrastructure’ requires you to add the hardware details you require your agent to be equipped with. For example: does your process require agents to have a smartphone? And you have to select between ‘yes’ or ‘no.

- Post this step, your project will be made Live and can be viewed by prospective agents and gig workers.
Step 3: Identifying talent and Hiring them!
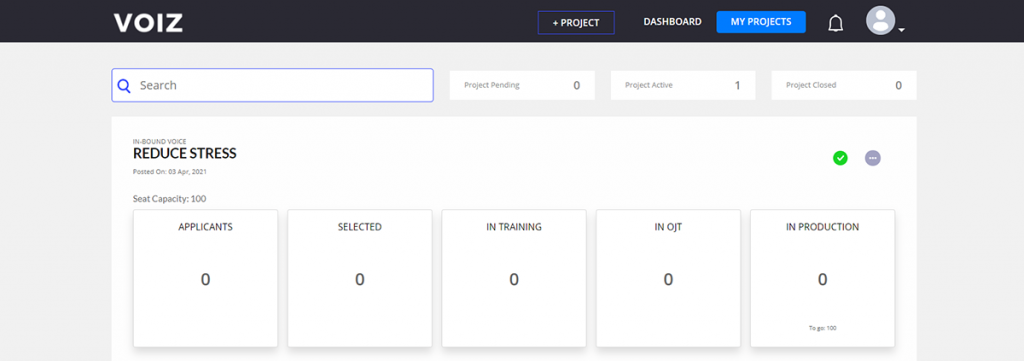
- On your dashboard, click ‘My Projects’.
- Here you will be able to view your ‘pending projects’, ‘active projects’, and ‘closed projects’.
- You will also be able to view your recently uploaded project accompanied by 5 cards namely applicants, selected, in-training, in OJT, and in production.
- By selecting the ‘applicants’ card, you will be able to view the profile of the candidate and shortlist them according to your preference.
- In the ‘selected’ card, you will be able to view only the candidates that have been selected for the project. From here they can be moved to training and OJT.
- In the ‘Training’ card and the ‘OJT’ card, you will be able to view the candidates that are currently in training respectively.
- In the ‘In Production’ card you will be able to view agents who are actively working on the project. Here you can deactivate an agent ID, move an agent back to training, or even mark them as a ‘no show’.
- You can always choose to ‘freeze hiring’ for each of the selected slot timings after filling your required seat capacity.

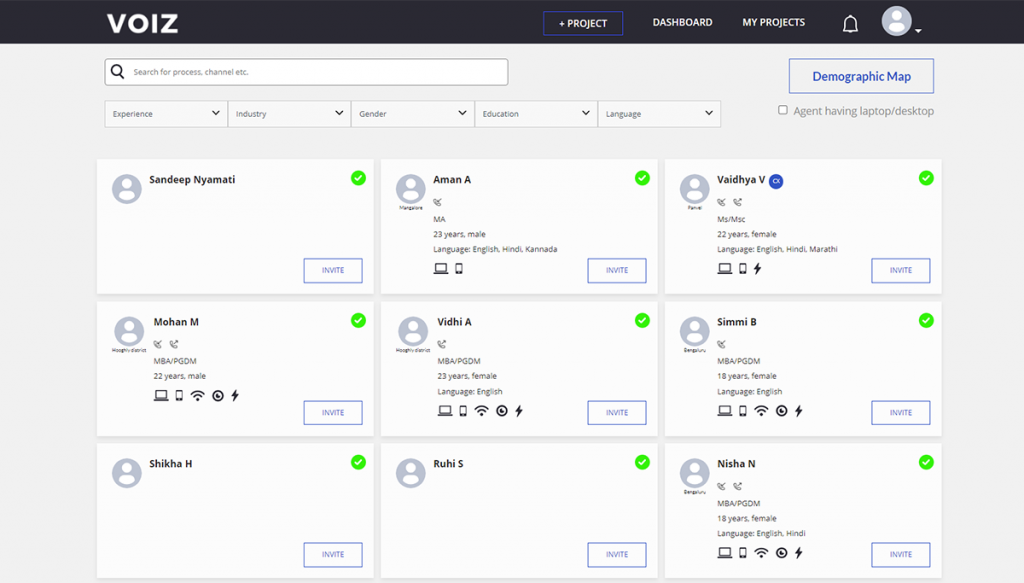
- You can also request/invite agents to apply for the role by clicking on ‘Find more talent’.
- Here, you will be able to filter candidates according to experience, industry, gender, education, and language. You can also filter candidates according to the hardware requirements that suit the project for a quicker onboarding experience.